Getting Started with Mapulo
Welcome to Mapulo, here we will show you how to start logging your important locations.
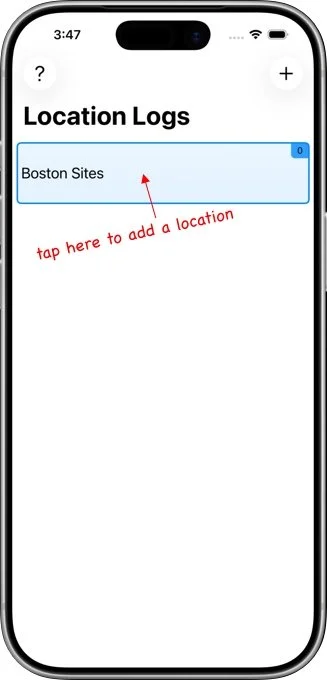
When you open Mapulo, you’ll see your list of location logs. If you’re new, the list will be empty.
Tap the + button in the top-right corner to open a new page where you can create a log. Enter a name, choose a color, or load an existing log from your iPhone or iCloud.
Tap Add to create a new location log. It will appear on the locations log page.

To add a location, tap a log in the list to open it. New logs start empty.
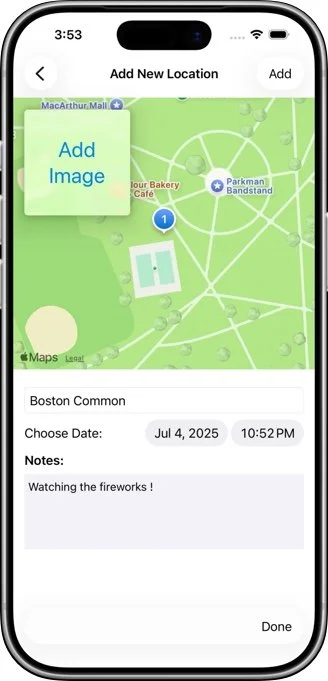
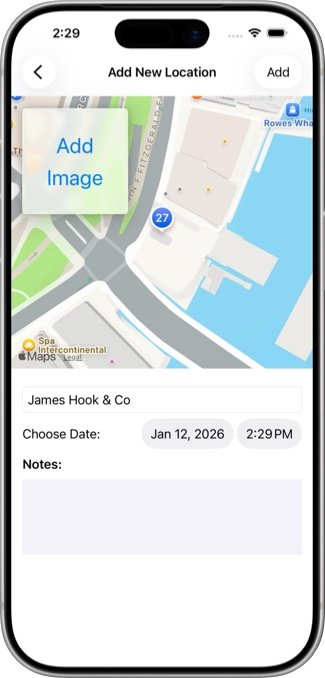
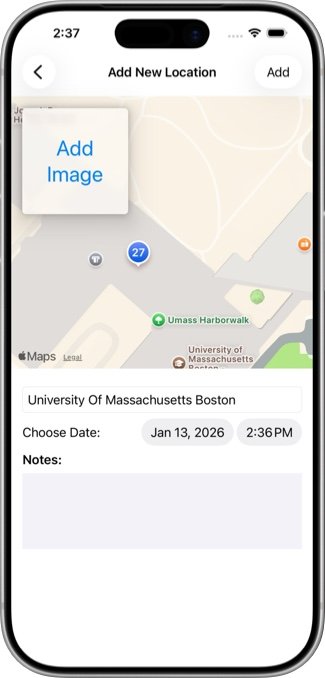
Tap the + button in the top-right corner and choose to add your current location or enter an address. If you use your current location, Mapulo will ask for location permission and then show your position on the map.
Add a title, adjust the date, and include notes if you like. You can also attach a photo from your camera or photo library.
Tap Add to save the location.
Congratulations, you have just entered your first location!
Location Logs Page
This page shows you all the location logs you have created. You can access all the locations in the log by tapping the name of the log.
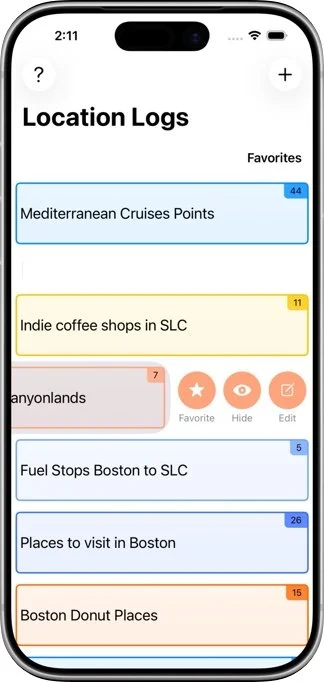
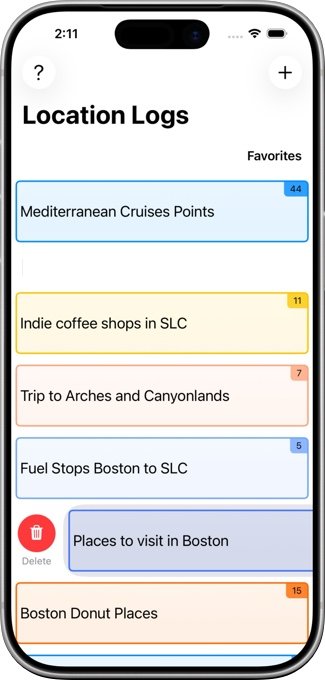
Swiping the log name to the left will allow you favorite, hide or edit the log. Favorite logs appear at the top of the page and hiding moves it to the hidden section at the bottom. Swiping the name to the right will reveal the delete button. This button deletes the log completely. Take care, deleting a log is not undoable.
Tapping the Edit button will open the Edit Log page.
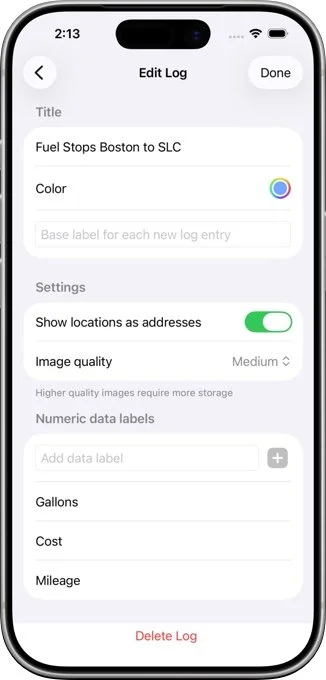
The Edit Log page allows you to change the name and color of the log. You can also specify a base label for the log. This label automatically appears at the start of the title for every location added.
A location’s latitude and longitude is displayed when the “Show locations as addresses” is off.
The quality of the images saved with each location is adjustable on this page too. Take care, however, higher quality images will result in larger file sizes.
Finally, this page allows you to specify the numeric data you want to include with each location. Simply type the name of the data in the “Add data label” field and tap the + button next to it.
Tap the Done button to save the changes
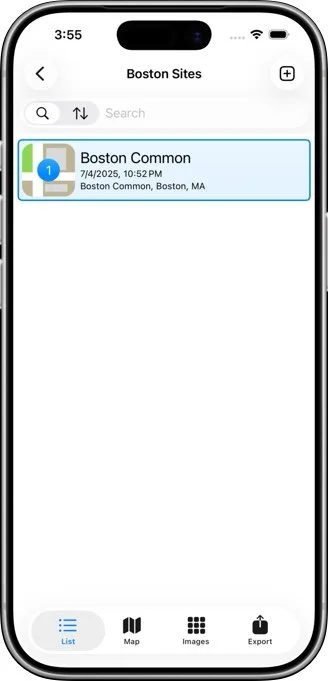
List Page
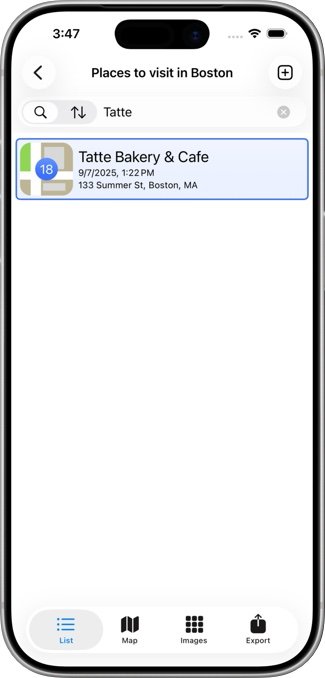
When you tap on a log in the Location Logs page, you will be taken first to the locations List page. This is a scrollable list of all the locations that have been saved for that log. Each entry displays the title, street address (or lat/long), and the image associated with that location.
At the top of the list, is a control that allows you to toggle between searching the list or sorting the list. You can search the title, the street address and notes for matches to what is in the search window. All matching entries are displayed
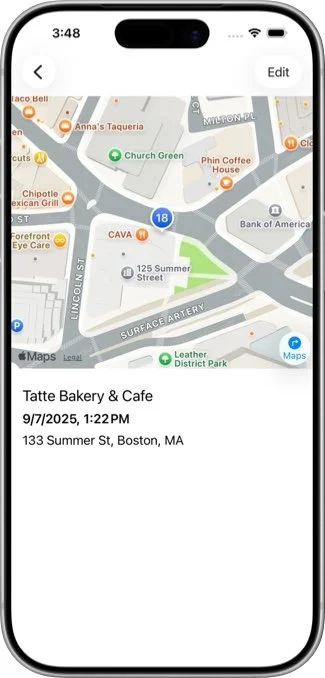
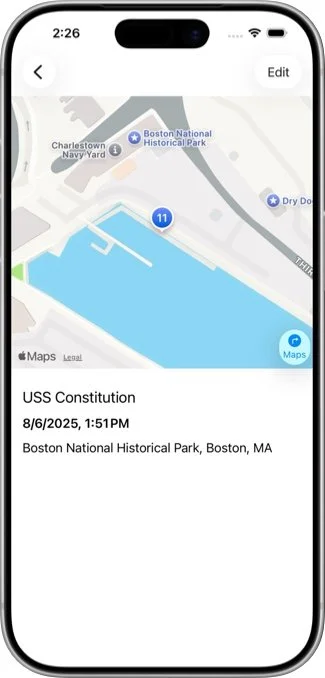
When you have found the entry you want, tapping on it will show details of the location including its location on the map. This page also allows you to change these details by tapping the Edit button in the upper right.
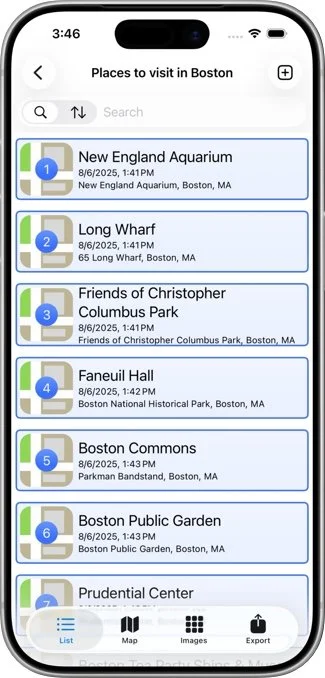
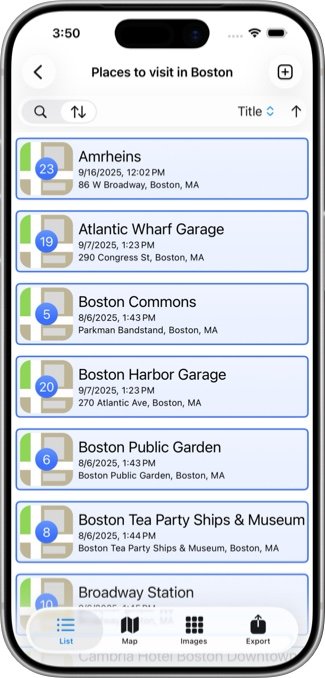
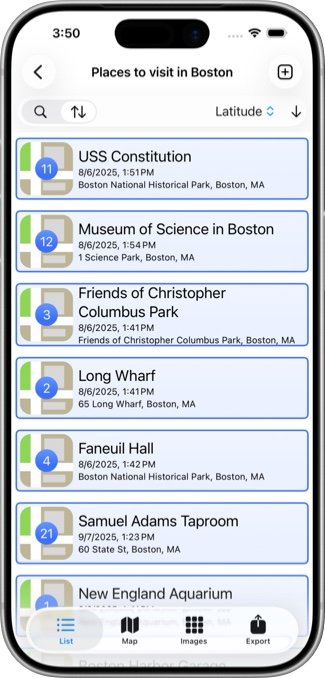
Tapping on the sort button (the icon with two opposing arrows) displays a menu of items that you can use to sort the entries. These are the date of the entry, its title, and its latitude or longitude. A vertical arrow to the right of the menu switches between ascending or descending order.
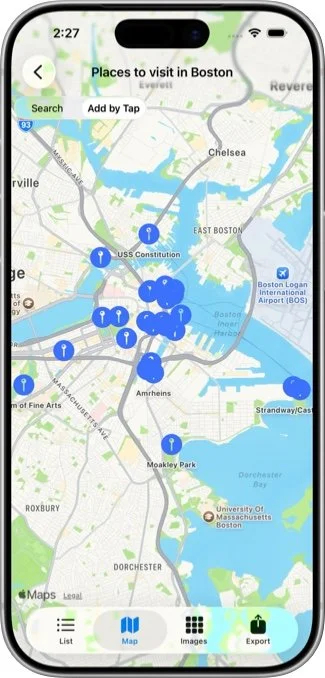
Map Page
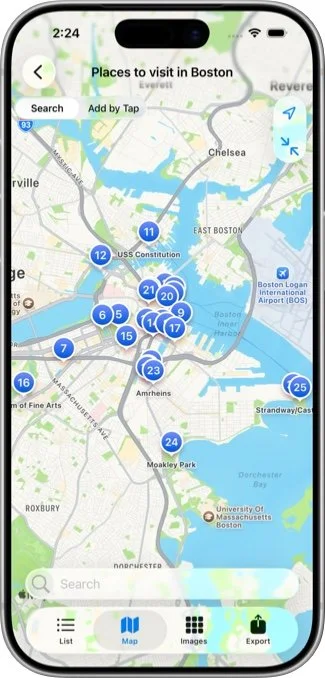
Selecting the Map icon at the bottom of the window will display the locations on a map. By default the map is sized display all the locations, but you can zoom and pan the map as usual. Return to the default view by tapping on the lower button in upper right corner. The upper button will center the map at your current location.
With the Search button highlighted in the upper right, the locations icons can be tapped to bring up the details of each location.
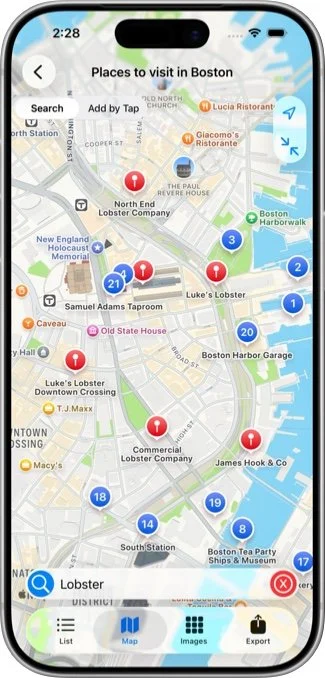
In search mode, a search window appears at the map bottom. Type anything in this field, tap the blue “magnifying glass” and the search results will appear as red map pins. Tapping on any of these pins will bring up the Add Location to add this result to the other locations. Tapping the red X button clears the search results and the search field.
When you tap the Add by Tap button, the location icons change to a flat depiction and cannot be selected. Instead, you can tap anywhere and bring up the Add Location page for that location. Mapulo will fill in the title field with the nearest business or point of interest.
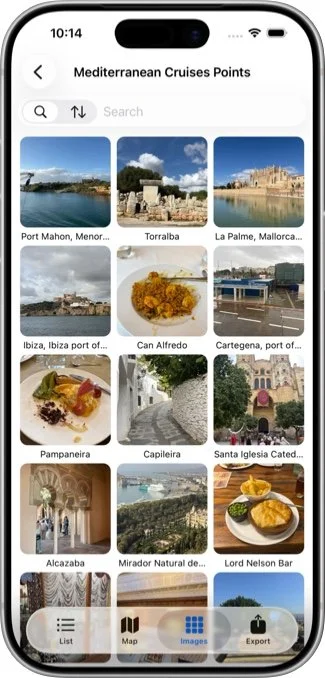
Images Page
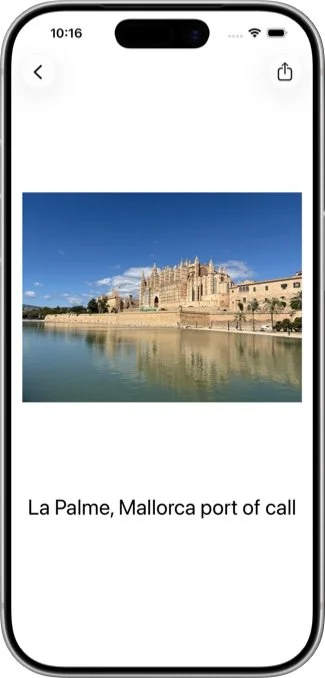
Tapping the Images icon at the bottom will reveal the Images page. This gallery shows all the photos present in the location log. Tapping on any image will display a detail of that image. From this page, you can share the image by tapping the share icon in the upper right.
As with the List page, you can search and sort the images in the gallery using the search/sort control at the top.
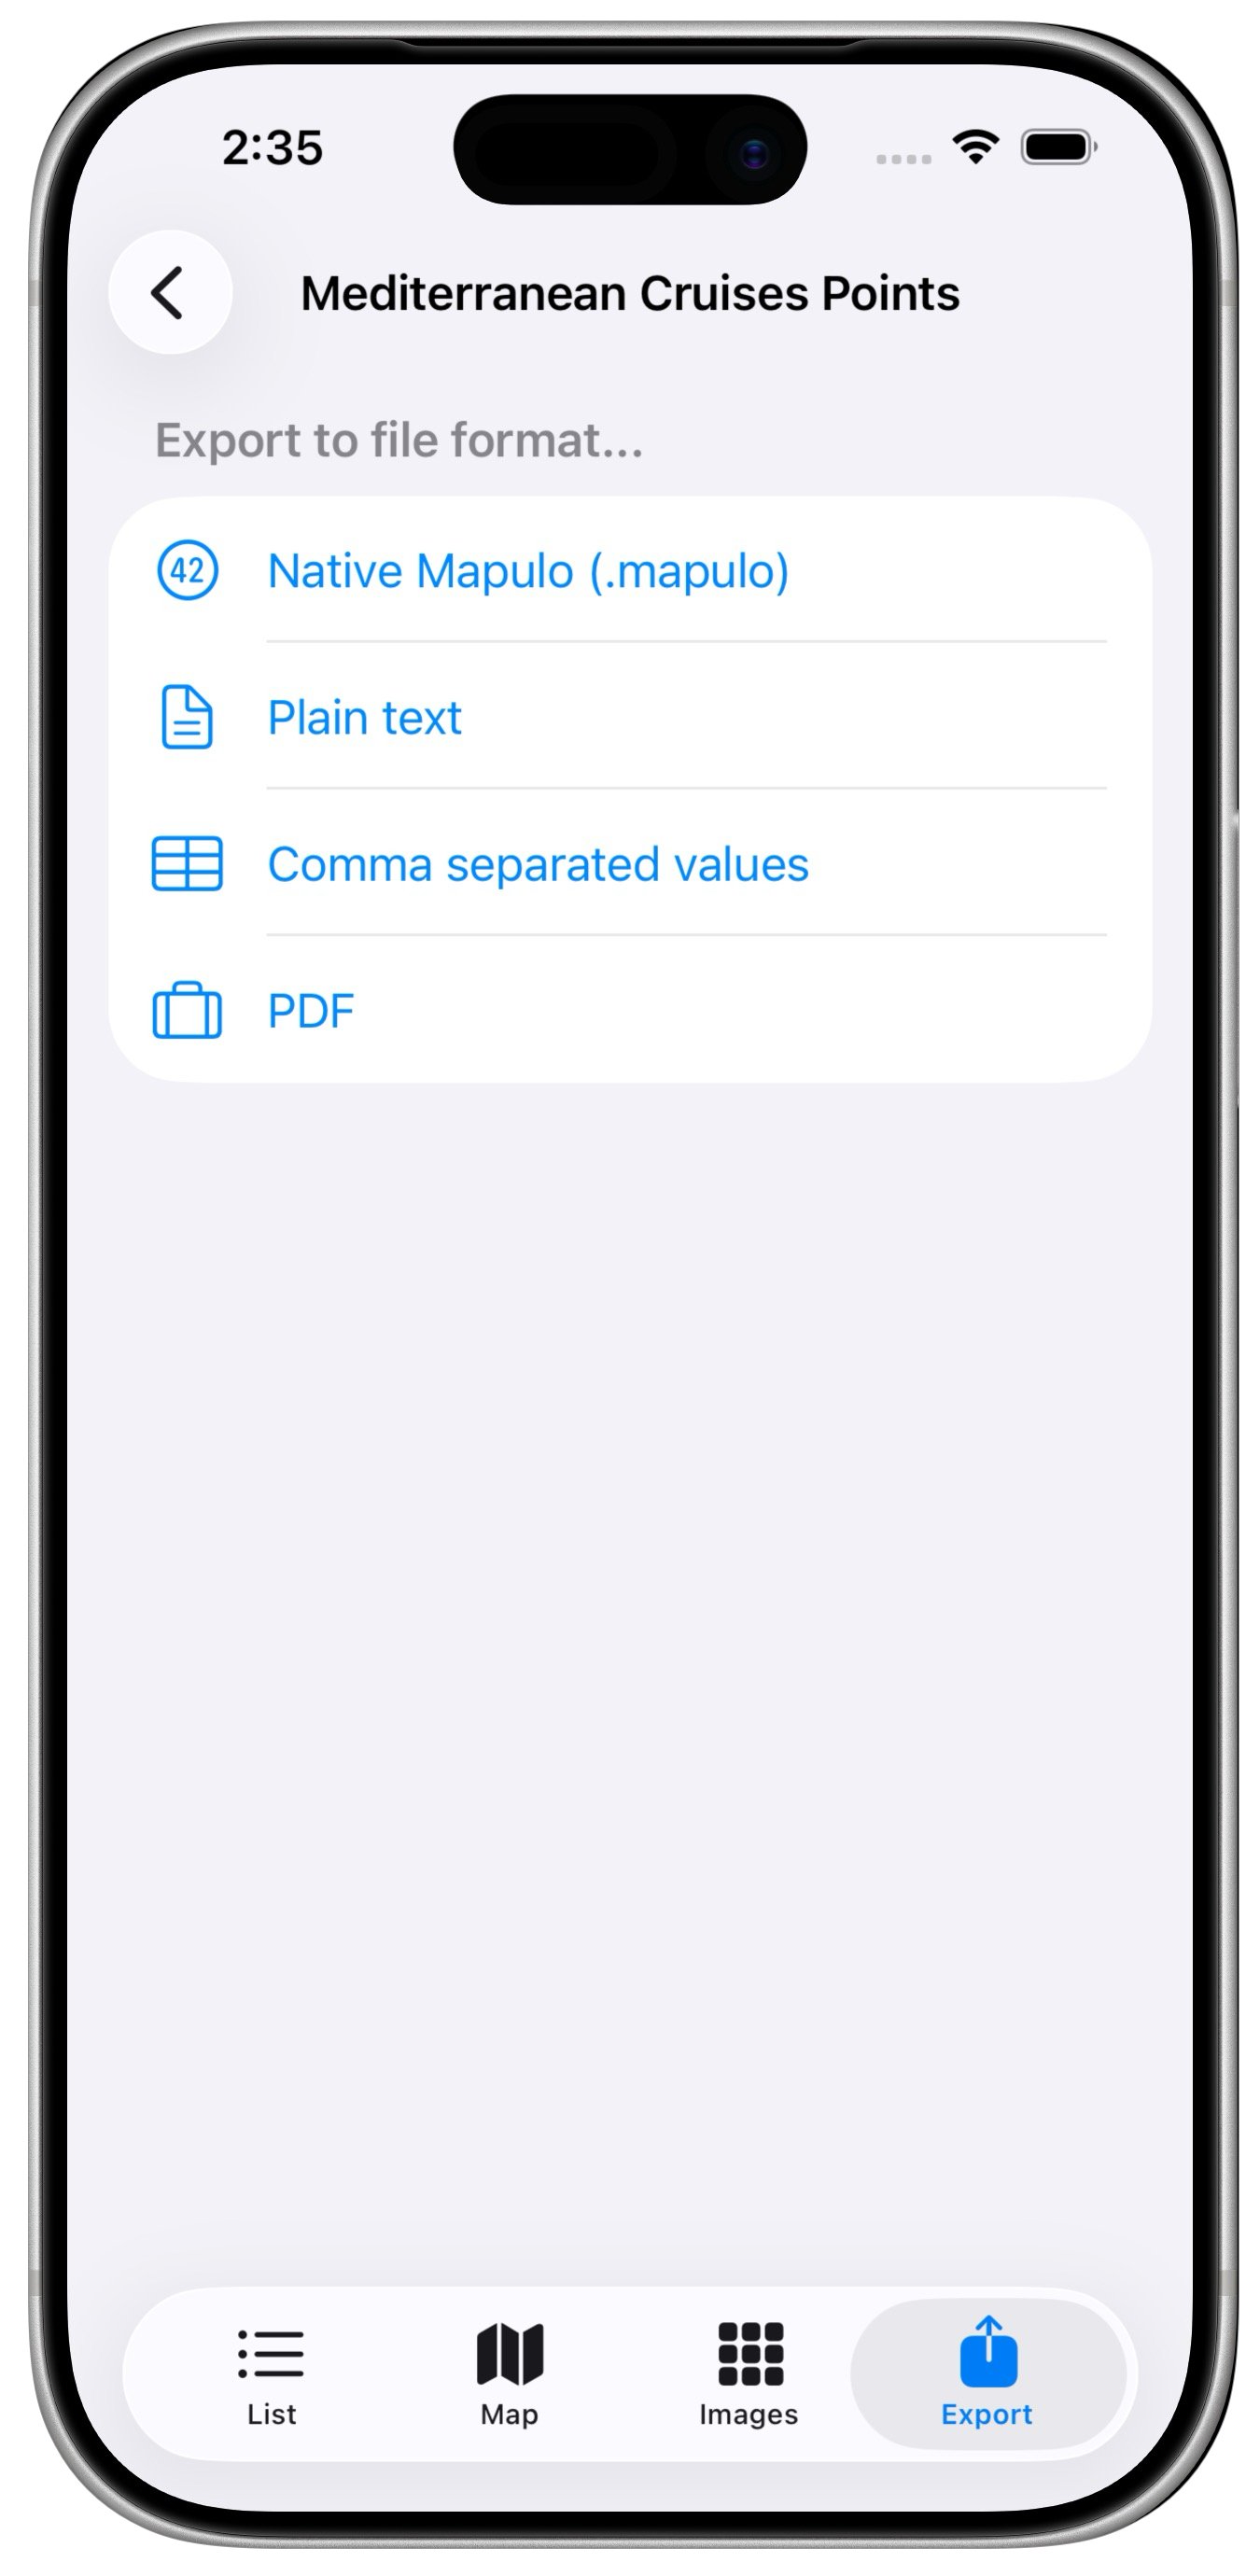
Export Page
The Export button on the button displays a page that allows you to export your location log in several formats:
Native Mapulo
This format can be read directly by Mapulo. Use this to share your location log by email or Apple Messages with another user with Mapulo installed on their phone. Export this format to archive a location log in your Files app. Reread it using the “Load from File” option on the Add log page. All of the image data is preserved so these files can become large for logs with many images.
Plain Text
This is a plain text file containing all the text information of all the log’s entries. This includes the date, the title, the street address, the latitude and longitude and the notes. For entries taken from the current location, it may also include elevation. There is no image data included.
Comma Separated Values
This is the well-known and loved .csv format. All locations’ text information is written separated by commas. It can be read directly by most spreadsheet programs. No images are included with this format.
Portable Document format
This format translates the location log into a PDF document. Thumbnails of the images are included with the other text information.
No encryption
You should understand that Mapulo does not encrypt to any of these file formats. If you are sharing a log with sensitive data, share it using an encrypted path like Apple’s Message or write it to a file that you can encrypt or a least password protect before sending it via an insecure path like email.